Customer Testimonials: Real Stories of Recovery with Sleeve Stars Ankle Compression Sleeves
When it comes to finding effective solutions for ankle pain and injury recovery, the experiences of real users often speak louder than any advertisement. Sleeve Stars has built a reputation for quality and comfort, and many customers have shared inspiring stories of how their products have helped them regain mobility and reduce discomfort. If you’re curious about how Sleeve Stars designs the perfect ankle compression sleeve, these testimonials offer valuable insights into the product’s performance and benefits.
Why Choose an Ankle Compression Sleeve?
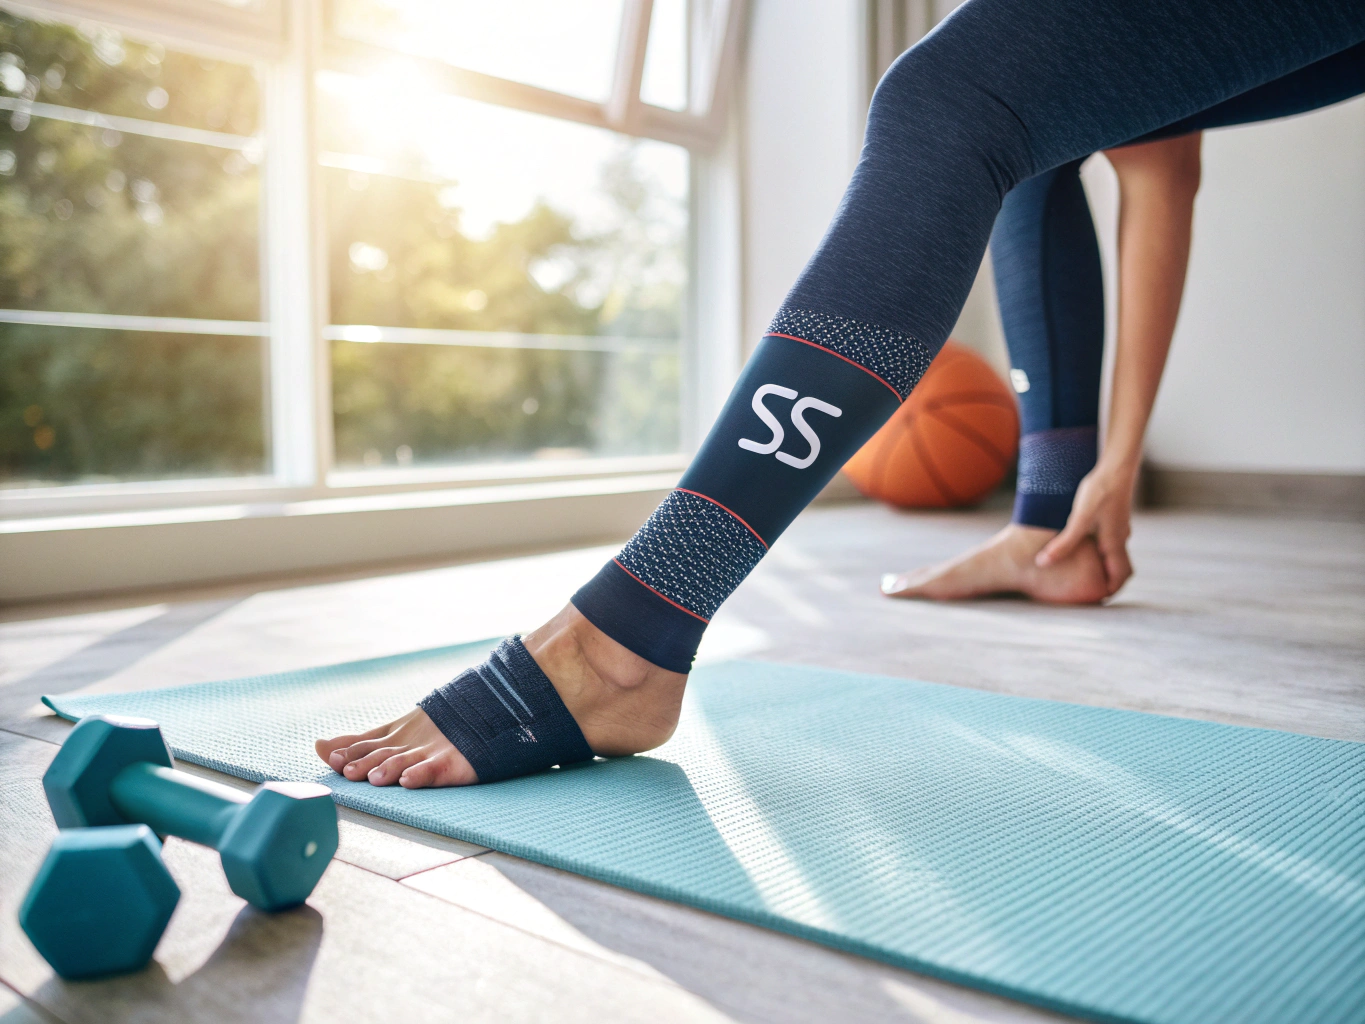
An ankle compression sleeve provides targeted support, reduces swelling, and promotes blood circulation, which accelerates the healing process for injuries such as sprains, plantar fasciitis, tendonitis, and general ankle instability. Unlike bulky braces, compression sleeves offer a snug fit that moves with you, making them ideal for both recovery and daily wear.
Sleeve Stars has focused on combining durable materials with ergonomic design to create sleeves that not only support healing but also offer comfort throughout the day. Their commitment to quality is clear in the glowing reviews from customers who have experienced first-hand the difference these sleeves can make.
Real Stories: Recovery and Relief with Sleeve Stars
Jessica M., Marathon Runner: “After a severe ankle sprain last year, I struggled with pain and instability. My physical therapist recommended an ankle compression sleeve, and I found Sleeve Stars to be the best fit. The sleeve provided just the right amount of compression without cutting off circulation. I was able to start running again within weeks and feel much more confident during my training.”
Mark T., Construction Worker: “My job requires me to be on my feet all day, and chronic ankle pain was affecting my performance. I tried several products, but Sleeve Stars’ ankle compression sleeve was the only one that truly reduced swelling and pain. It’s durable enough to wear under my work boots and keeps my ankle supported throughout the day.”
Linda S., Retired Teacher: “Plantar fasciitis caused me constant discomfort, especially in the mornings. After using the Sleeve Stars ankle brace, I noticed significant improvement. The compression helped reduce inflammation, and I appreciated how breathable and comfortable the sleeve felt. It’s become an essential part of my daily routine.”
Features That Make Sleeve Stars Stand Out
What sets Sleeve Stars ankle compression sleeves apart is their attention to detail and commitment to user satisfaction. Customers often praise the following features:
- Ergonomic Fit: Designed to contour perfectly around the ankle and foot for maximum support without restricting movement.
- High-Quality Materials: Breathable fabrics that wick moisture and prevent overheating during extended wear.
- Durability: Built to withstand daily use, whether at work, during sports, or recovery sessions.
- Effective Compression: Graduated compression that promotes blood flow and reduces swelling for faster healing.
Final Thoughts
Customer testimonials reveal that Sleeve Stars ankle compression sleeves are much more than just a supportive accessory—they’re a trusted partner in recovery. Whether you’re managing a recent injury or dealing with chronic pain, the right ankle compression sleeve can make a significant difference in your quality of life.
By understanding how Sleeve Stars designs the perfect ankle compression sleeve, it’s clear why so many users have found relief and regained confidence. Their real stories of recovery highlight the sleeve’s effectiveness and comfort, encouraging others to take proactive steps toward healing and improved mobility.